
Browse the operator manual
Start here
Get started with Operations CenterTake a trip from Draft to departureUse Dashboard and RadarVideo guidesOrganization setup
Set up your organizationSet company identity and portal brandingSet editor, schedule, and writing defaultsConfigure traveler forms, legal content, and the public catalogConfigure payment providers and payment documentsConfigure automatic emailSet monitoring and notification thresholdsCreate and build
Create a tripImport a trip with AIComplete trip details and residencesBuild the itineraryAdd flights and transfersAssign field staff and partnersPublish and sell
Configure and publish the traveler portalDesign the traveler pageGive and remove portal accessConfigure pricing and collect paymentsReview and approve join requestsManage travelers and roomingWork with sales and FinancePrepare and operate
Prepare a trip for departureManage files and messagesMonitor live operationsSaved content and contacts
Reuse saved trip contentMaintain field staff, partners, and suppliersReference
Trip status referenceManage the tour listFix common problemsOrganization setup
Set up your organization
Complete each Settings tab in a practical order before your team creates trips.
Before you begin
- Organization administrator access
You will learn to
- Know what each Settings tab controls
- Complete setup in a sensible order
Reviewed September 2026
System → Settings
Organization settings apply to every trip and every traveler-facing page.
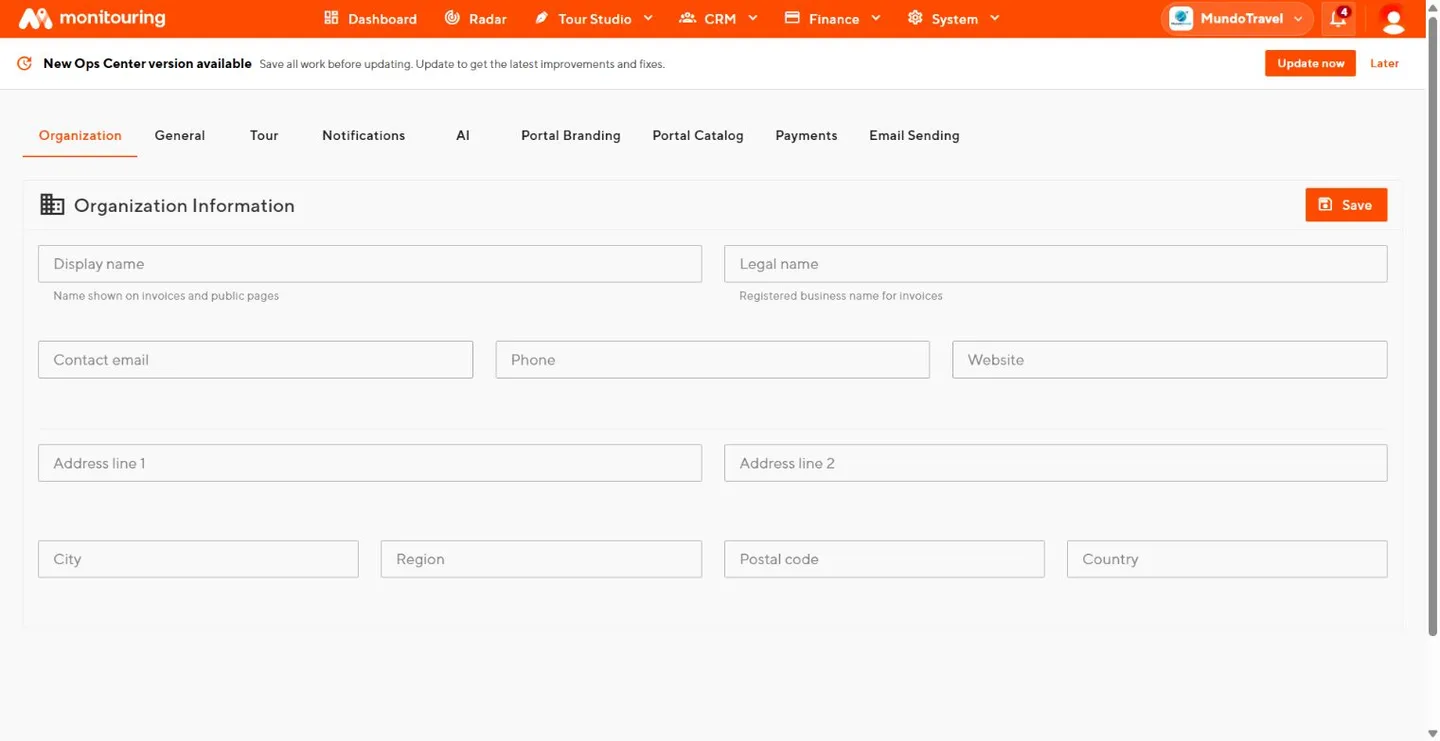
Settings tabs
| Tab | Controls | Guide |
|---|---|---|
| Organization | Company name, legal name, contact details, address | Identity and branding |
| General | Google Maps key, editor autosave, automatic segment names | Editor and writing defaults |
| Tour | Default day start and end, gaps between segments, check-out duration | Editor and writing defaults |
| Notifications | Notification phone and weather, flight, transfer, and staff-location thresholds | Monitoring thresholds |
| AI | Writing role and standing instructions for generated text | Editor and writing defaults |
| Portal Branding | Colors, fonts, logo, language, legal text, traveler form defaults | Identity and branding, Forms, legal content, and catalog |
| Portal Catalog | Public catalog availability, layout, filters, and cards | Forms, legal content, and catalog |
| Payments | Payment providers, fee note and receipt numbering | Payment providers and documents |
| Email Sending | Automatic email, review, languages, reminders, email branding | Automatic email |
Recommended order
- Company identity and contact details.
- Logo, colors, fonts, and default language.
- Editor and itinerary defaults.
- Traveler form defaults, legal text, and catalog.
- Payment providers and document numbering.
- Automatic email and reminder timing.
- Notification phone and monitoring thresholds.
- Create a test trip and check the traveler page, form, payment, and email results.
Payment credentials, document numbering, legal text, and automatic email affect travelers and accounting. Change them only with the responsible team.
More than one organization
If your account belongs to several organizations, use the organization menu at the top right to switch. Trips, travelers, files, finance, and settings belong to the organization shown in the top bar.
New trips start with your company details, branding, defaults, payment options, and email behavior already in place.